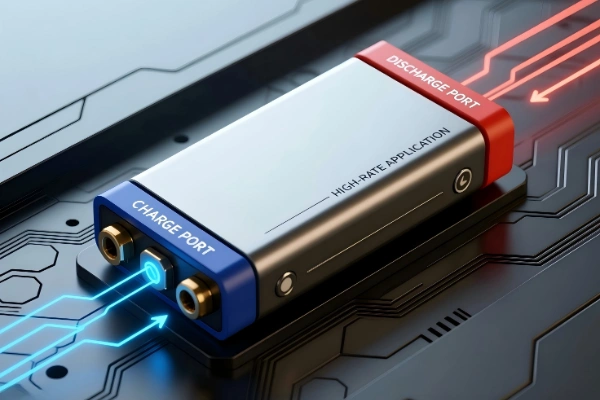
Part 1 Hardware Connection
Power the unit via the Type-C cable (or an external power bank).
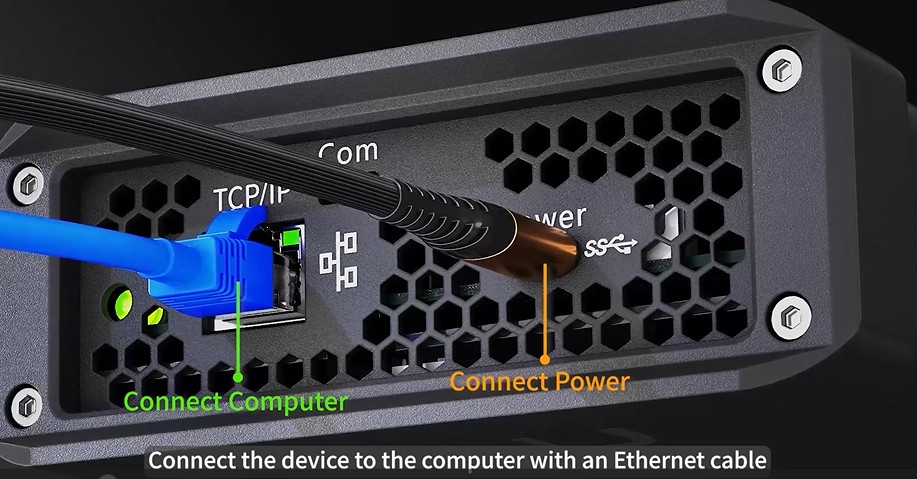
Connect the device to the computer with an Ethernet cable.
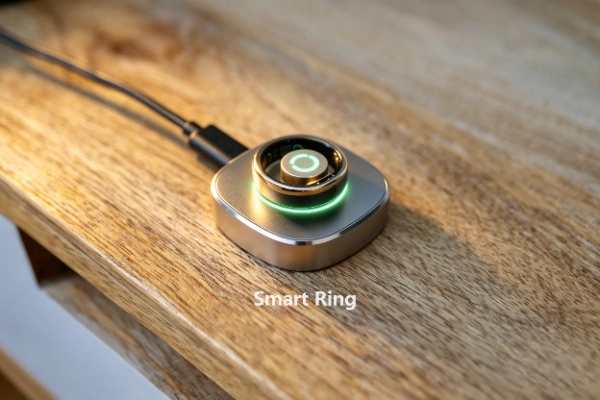
Connect the coin cell or solid-state battery to the device via a fixture.

After completing the above steps, the device is ready for subsequent software configuration and operation.
Part 2 PC Settings
Enter the Windows Security. Click on "Virus & threat protection." Find the "Manage settings" under the "Virus & threat protection settings" Turn off "Real-time protection", "Cloud-delivered protection", and "Automatic sample submission."

Then click on "Firewall & network protection" in the left column. Turn off "Domain network", "Private network", and "Public network."

Step 2: Set your computer to never sleep.
Open computer settings, then find "Power & sleep" in the system settings. Click on "Screen & sleep" and set both options to "Never."

Finally, configure the computer's IP address: make sure it matches the server's IP address of the control unit.
Access "Control Panel" . Click "Network and Internet" . Access the "Network and Sharing Centre." Click "Change adapter settings" in the left column.
Right-click "Ethernet", click "Properties", and select the "Internet Protocol Version 4 (TCP/IPv4)" item.

Click "Properties" and select "Use the following IP address" Enter the IP address 192.168.1.250 manually. Click the "Subnet mask" input box to automatically detect the mask address. Click "OK", then click "Close."

Part 3 Software Installation
Please contact your sales manager to send you the software installation package that matches your hardware version. Alternatively, you can fill in your information on the neware.net website under Services – Warranty Request, and we will send you the software package as soon as we receive your request.

To ensure the software installs correctly, please disable or uninstall any antivirus programs on your computer.
Extract the downloaded ZIP file and open the extracted folder. Right-click the setup file and select “Run as administrator”.
In the installation window, check all four options, then click “Next”. Click “I accept”, then “Next” again.
You can choose the installation path here; the default location is recommended. Click “Install”, then “Finish”.
For Python and the server components, simply follow the on-screen prompts to complete the installation.
After the installation is complete, launch the BTS software, click User, and enter:Username: admin; Password: neware.
Upon successful login, the main interface displays two test channels that have been automatically mapped.

Part 4 CV Step Instructions
First, right-click on the corresponding channel of the battery, then click "Single Start" to open the step configuration interface.
Select the cyclic voltammetry step, and double-click the box corresponding to step time or voltage to open the CV step settings interface.
In the dropdown options on the right,
OCV stands for "Open Circuit Voltage",
Ref stands for "Reference".
For example, set the initial voltage to 0 V vs. OCV.
Set the scan rate to 1 mV/s.
Set vertex voltage 1 to 3.9 V vs. Ref.
Set vertex voltage 2 to 2.6 V vs. Ref.
Set the Cycles to 5.
Set the voltage record to 3 mV.
For the current range, select a value greater than the maximum current during the scan.
Set the final voltage to 0 V vs. OCV , you can disable this by unchecking the box if needed.
Once the settings are complete, click OK, then click Start in the lower-right corner to begin the test.
After the test is completed, open the test data.
Click the CV icon at the top of the interface to open the CV graph.
Check the cycle count box in the upper-right corner.
you can either click the buttons on the right or directly input the cycle number to view the graph for each cycle
Right-click on the graph area to copy the data corresponding to the currently displayed graph.